- Applying Hotfix-Stones
These are crystals with a special hot melt adhesive on the flat side. They are excellent for your DIY-rhinestone project and are also my favourite. The pros: The crystals stay on longer and even survive your washing machine – good overall quality of the product provided. The cons: You need the Hotfix rhinestone setter to melt the glue by placing the stone on its tip and pressing it onto the fabric. With every stone that takes several Seconds, so it is going to feel like an eternity before you have finished a whole dress. So the time factor rules out this method what professional dressmaker’s studios are concerned. The stones are also more expensive than conventional ones. For the private Jane, however, this method is fantastic. Be careful, though, with very thin net fabrics or tulle. If your tool gets too hot it may burn or melt a hole in your garment. This is why you should always make a test on a piece of similar fabric beforehand and, if available, also use a hotfix rhinestone setter with a thermostat.
Practical advice: This is how you do it
The way to do it is very much like when using a conventional adhesive:
Prepare your pattern, place the fabric on your work surface, make the water test, get your underlay in place – in this case it must be a heat resistant material like glass, metal or baking parchment. Do never under any circumstances use plastic wrapping or anything else that melts easily.
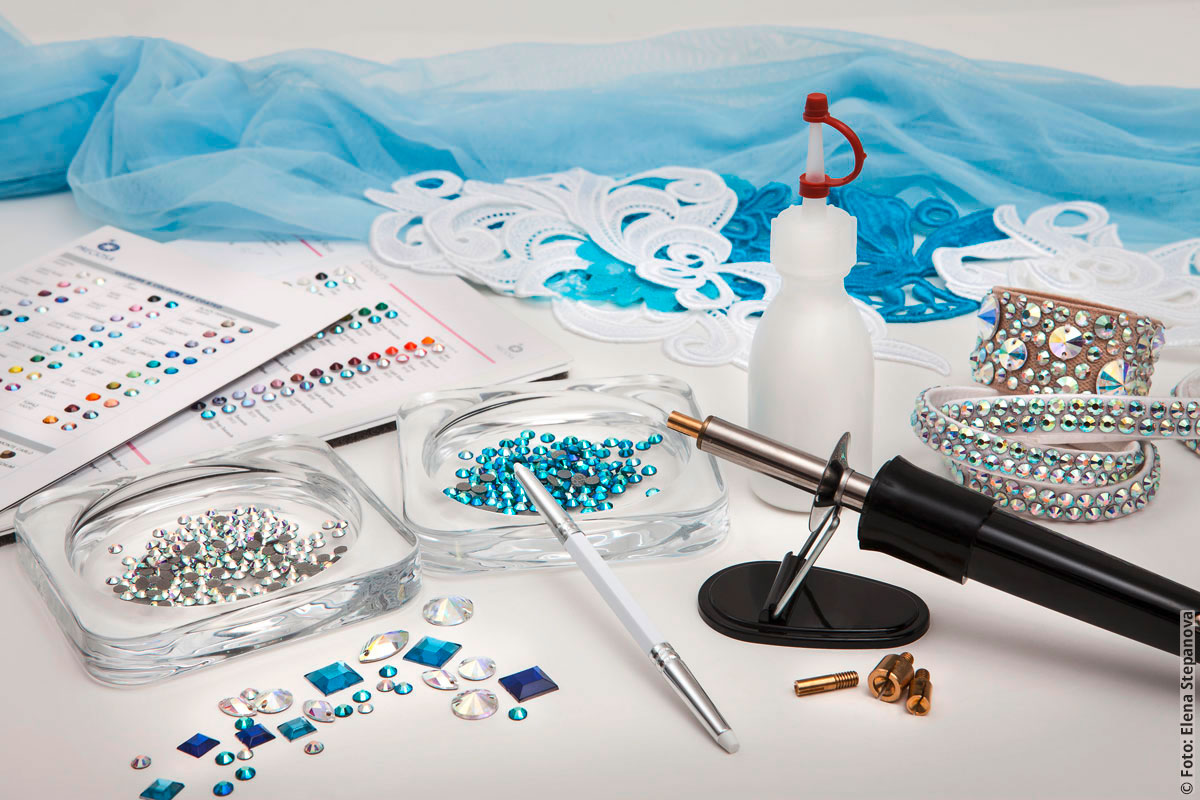
Now you have two options: Either you arrange the rhinestones directly on the fabric and then press the Hotfix tool on to each one of them. Or – that is how I prefer to do it – you pick up each crystal with the tip of the tool. Then the bubbles that appear on the flat gluey surface of the rhinestone after a few Seconds tell you exactly when it is the best moment to set the stone. You always get the best result when the melted adhesive almost penetrates the fabric and also becomes visible along the fringe of the stone. If it literally oozes out you have added too much pressure. Your Hotfix tool has different tips, one for the each size of the crystals. In case a stone gets stuck inside the tip there is a tiny slot that you can stick a needle into and thus remove the stone.
Once you have placed a crystal the adhesive cools down immediately it. If you need to remove the stone, you place the tip of the hotfix tool to re-melt the adhesive. This will leave a small stain, but you can cover that up with the crystals. This trick comes in handy when you are making a multicoloured pattern and you suddenly realize that it does not perfectly match. On the crystals that you remove this way, the hotfix layer is missing, of course, but you can still re-use them with normal adhesive.
Also awesome: The Hotfix adhesive does not bleed out. This means that you can work with it directly on your tailor’s dummy. This is a lot more convenient and you have a much better overall view. Another method is ironing on your rhinestones with transfer sheets. This way you can apply several stones in one go. However, this is not really an option for tournament dance outfits as you would normaly be applying the stones to a finished dress. Can you imagine taking your latin or ballroom dress and just run over it with your pressing iron? Might not be the best idea. But at any rate it is a quick way to embellish your lace hair piece. What is your favourite method – conventional glue or Hotfix? In the next issue of my blog I shall give you a couple of tips about how to make the dress or you always dreamed of.